Enable and configure external sharing
This article explains how to enable and configure external sharing. For an overview of the feature, for how space administrators assign fine-grained permissions, and for how regular users share files, see External sharing plugin: send files to partners and customers outside your company.
Prerequisites: domain name and static public IP
For external customers, suppliers, and partners to reach the file server over the internet, your server must have a static public IP address and a DNS record that points a domain name to that IP. Internet users then connect to the dedicated port on the server through the domain name. If your office has no fixed IP address, contact your account manager to discuss options.
Enable the dedicated external sharing port on Linux
Run the built-in xpc operations script to configure the dedicated external sharing port. Enter the intranet port first, then the external port. In this example, the intranet uses port 80 with HTTPS on port 443, and external sharing uses port 9988 (you need this port number later). After you confirm, the script remaps the gateway ports and binds the new port.
sh /opt/xpan/tools/xpc.sh config pub

HTTP port for accessing the 丰盘 system (press Enter for the default port 80): 80
Enable HTTPS on port 443 (y/n, press Enter to enable)? y
Port 443 for HTTPS is already used by internal access, so external sharing can only use HTTP
HTTP port dedicated to external sharing (must differ from the internal port): 9988
Changing the ports rebuilds the gateway container. The system will be unavailable for about 1-5 seconds.
Enter y to confirm (press Enter or any other key to cancel): yTip
After you configure the internal and external ports, set different access rules for them on the server firewall or on your router or switch firewall. Allow only intranet IP addresses to reach the internal port, leave the external port unrestricted, or allow only the specific regions you want to authorize.
Configure SMTP email in Admin Console
A private enterprise file server usually runs on the intranet, so it cannot authenticate users with SMS codes as easily as an internet SaaS product. External sharing therefore relies on two common authentication methods: a static password and instant email verification. To support email verification, configure an SMTP server for the 丰盘 system in advance so that it can email verification codes to visitors.
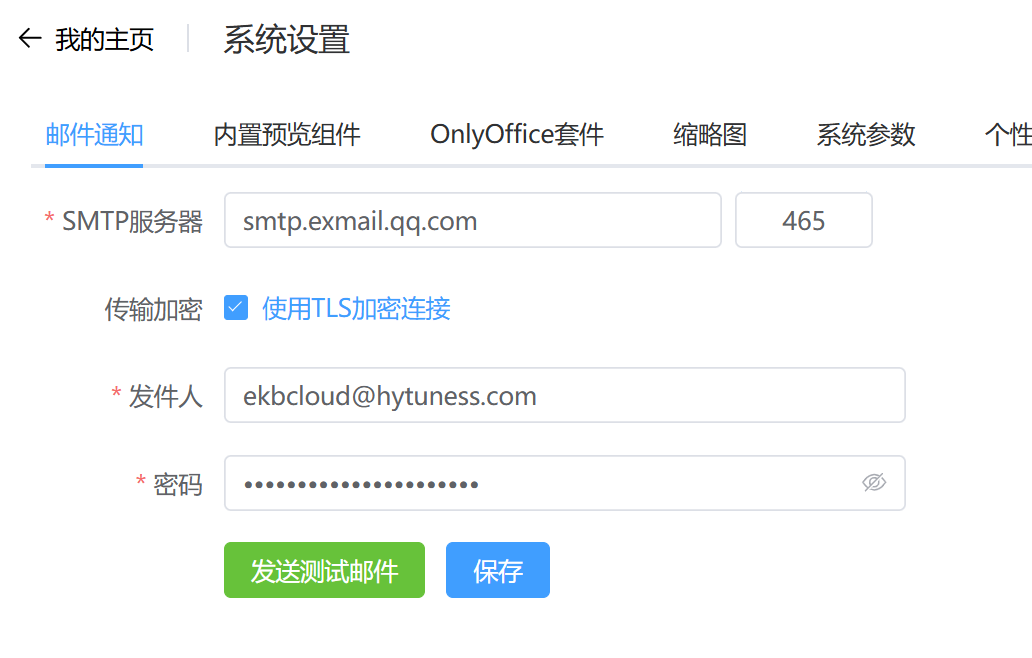
Sign in to 丰盘 with the super administrator account sysadmin and switch to the "Admin Console" from the menu in the upper-right corner. Go to "System Settings / Email Notifications" and configure the mailbox used to send notifications. This is usually your corporate mailbox, but a free mailbox such as 163.com also works.
Enable external sharing in Admin Console
After you configure email, switch to "System Settings / External Sharing" to continue.
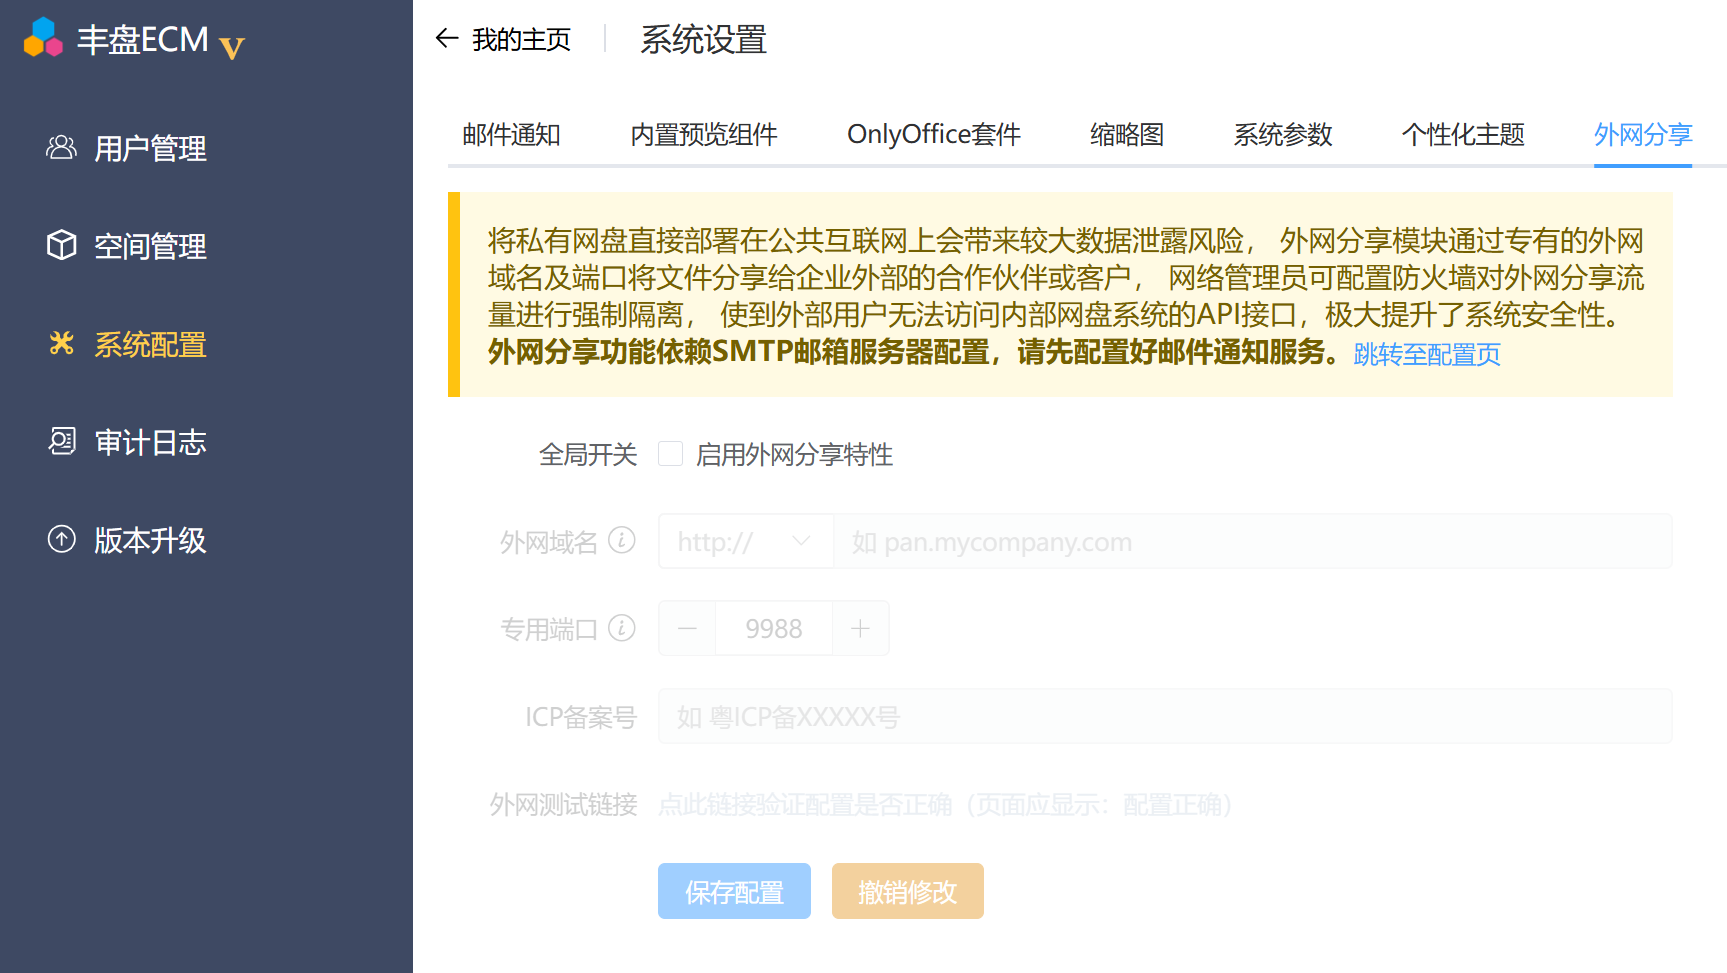
Select "Enable external sharing" and enter the domain name and port that users reach over the public internet. The port must match the one you configured earlier. The domain must resolve through DNS to the static public IP address of the server.
The ICP filing number (a filing record with the Ministry of Industry and Information Technology) is usually optional. If the server runs on Alibaba Cloud, Tencent Cloud, or another Chinese cloud provider, add the filing number; providers may block traffic to a page that lacks one.
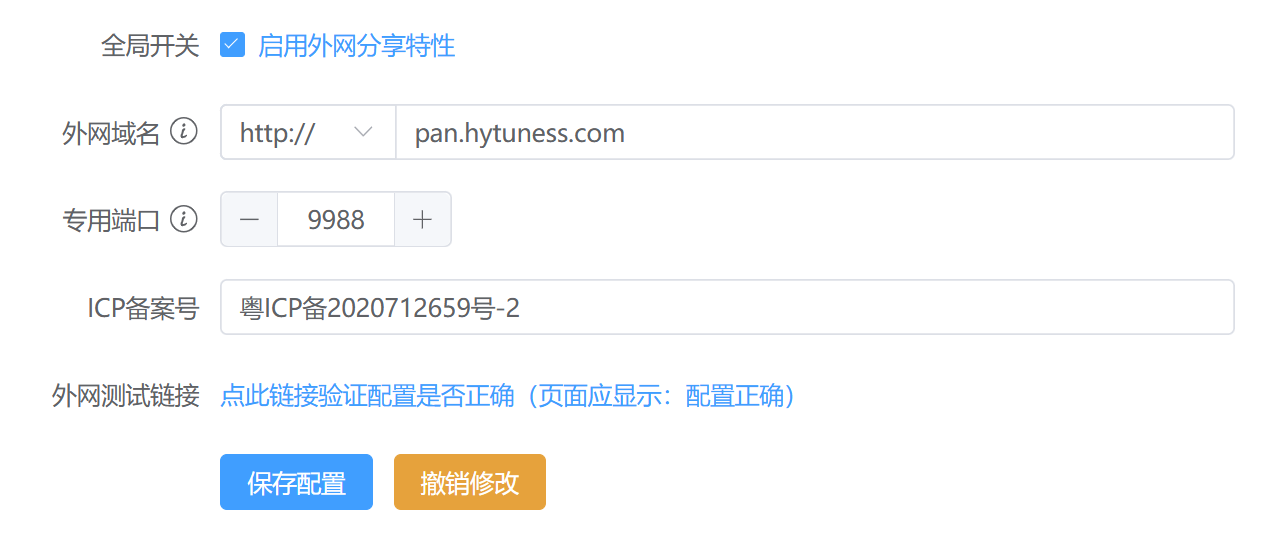
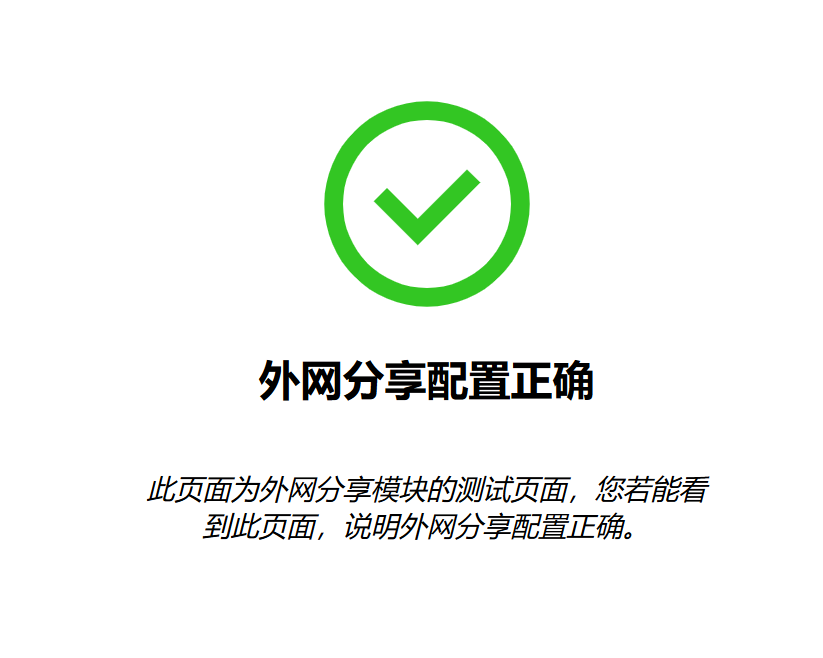
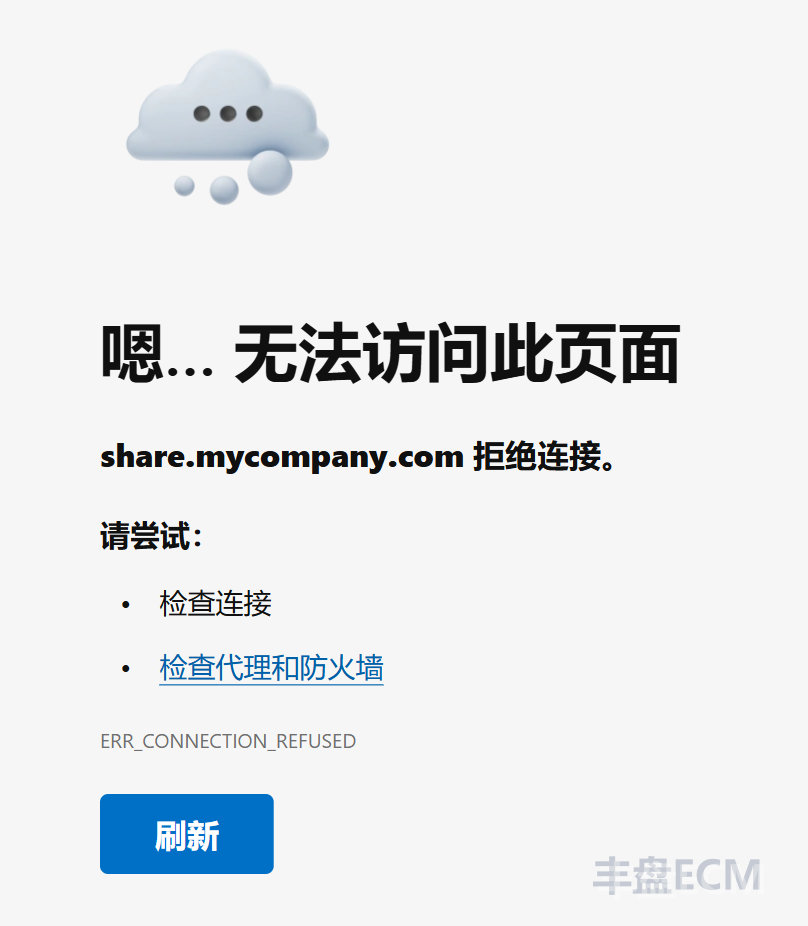
When you finish, click the external test link. The system opens the test address built from the domain name and port you configured. If everything is correct, you see the success message shown in Figure 1. If the browser reports that the site cannot be reached or shows a similar error, check whether the port works, whether another process on the server has taken the port, and whether a global VPN proxy is enabled in your browser or on your machine.
| Figure 1: External sharing is configured correctly | Figure 2: The port cannot be reached |
|---|---|
 |  |